Setup Environment Android untuk Mobile Pentest: Emulator, ADB, dan Burp Suite (Step-by-Step)
Individual Assignment Instructions
Mini Bootcamp Codelamp: Mobile Penetration Testing Batch 1 Module 2: Introduction to Emulators, Debuggers, and ADB for Mobile Penetration Testing (Android Focused)
Instructure/Mentor: Thorik Aziz
CODELAMP, https://codelamp.id/
Task Description
For Assignment 2, create a step-by-step documentation (write-up) on how to set up an Android environment for testing. The documentation must cover installation and configuration for:
- Android Emulator: (Genymotion or emulator of your choice), image configuration (ARM/x86), and network settings if necessary.
- Android Debug Bridge (ADB): Installation, device/emulator verification, and basic commands for port forwarding/file transfer.
- Burp Suite: Installation (Community), proxy configuration, and SSL certificate setup on the emulator/device so HTTPS traffic can be intercepted.
What must be included in the write-up:
- Clear and ordered steps (screenshots or terminal command snippets are highly recommended).
- A brief explanation of why each step is necessary (purpose).
- A simple testing example: capturing an HTTP(S) request from an Android application to Burp.
- A list of terminal/ADB commands used (copy-paste friendly).
INDIVIDUAL REPORT: MODULE 2
Title: Introduction to Emulators, Debuggers, and ADB (Android Focused) Name: Punjung Adi Nugroho File Name: PUNJUNG_MODUL02.docx
1. Tools Preparation
Based on the provided instructions and references, the following tools have been prepared:
- Emulator: Using MEmu Play or NoxPlayer as the Android virtual device.
- ADB (Android Debug Bridge): Using the latest SDK Platform-Tools package from Android Developers for command-line communication.
2. Execution Steps
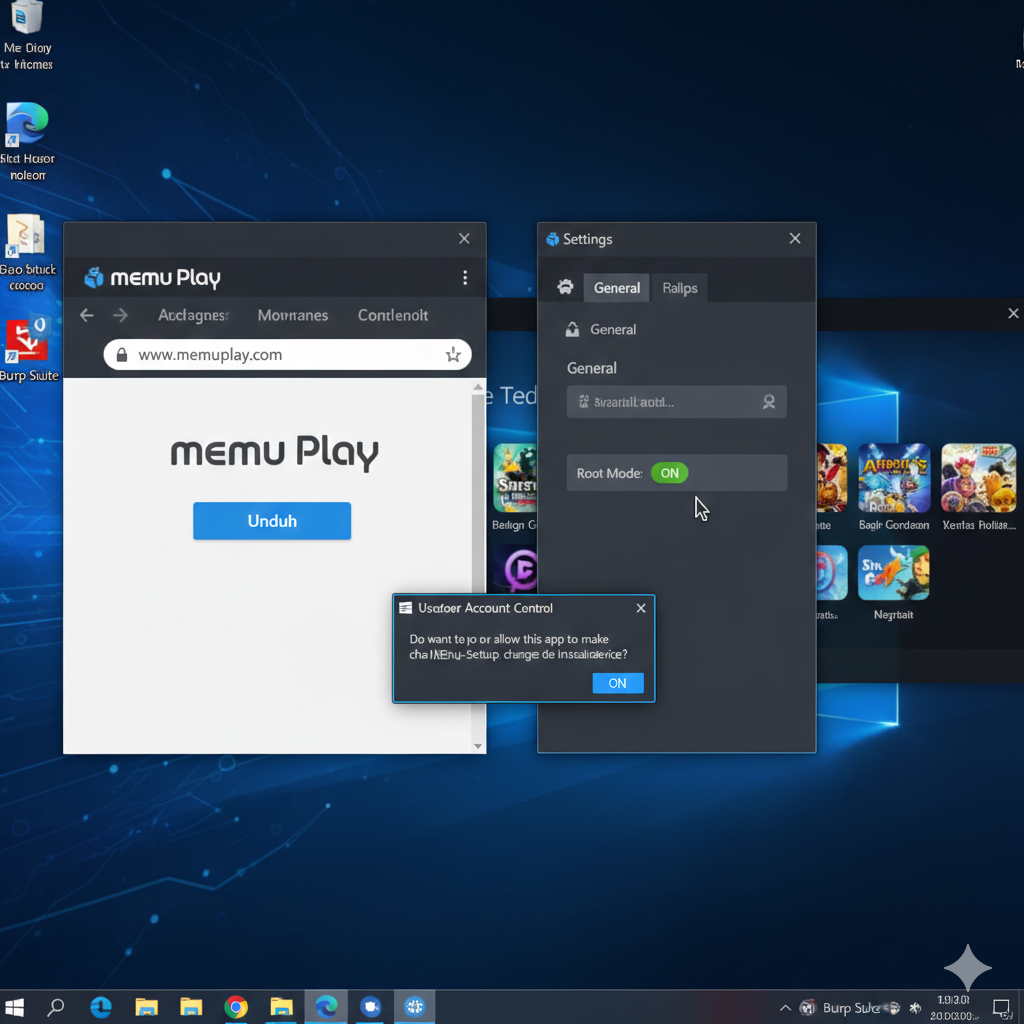
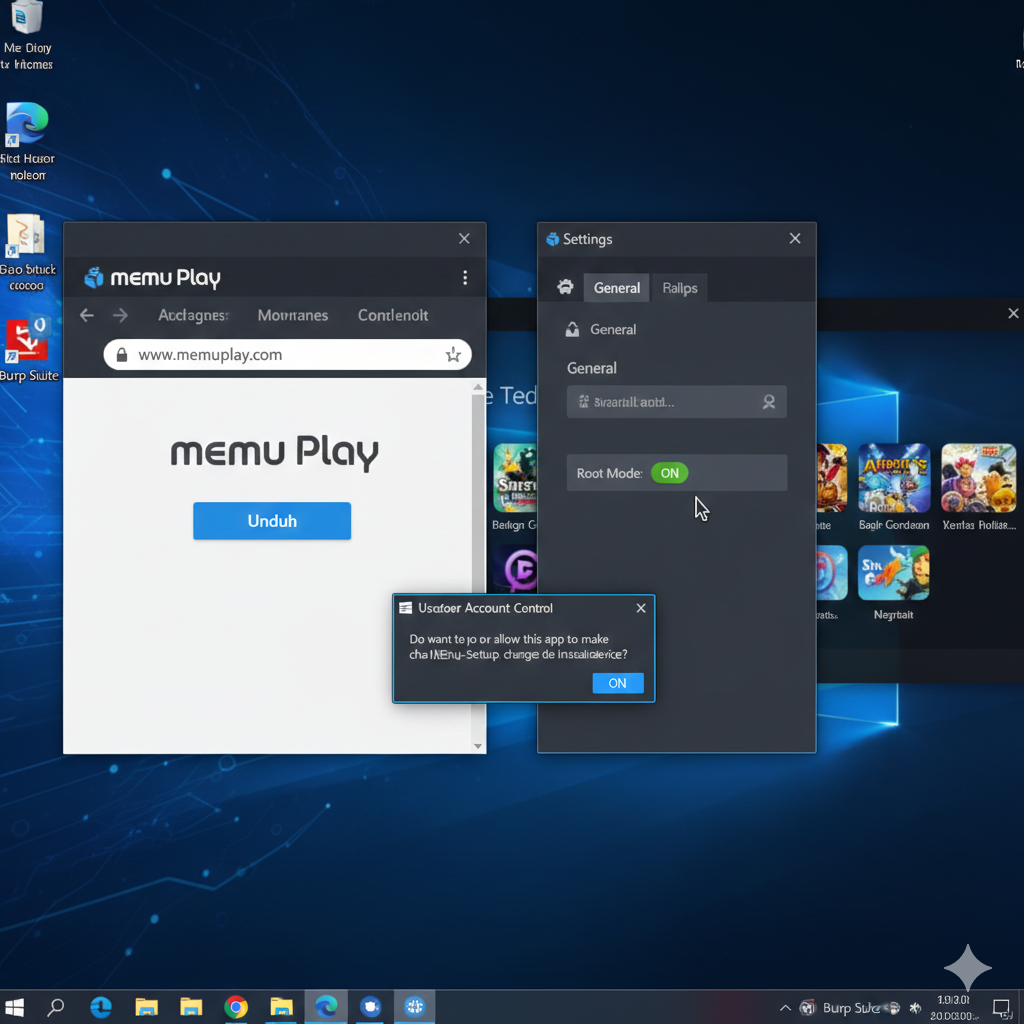
Step 1: Emulator Installation and Configuration
- Download the emulator installer from the official site (MEmu Play or NoxPlayer).
- Run the installation process until finished and open the emulator application.
- Enable Root Mode in the emulator settings to allow full access to the Android file system during security testing.
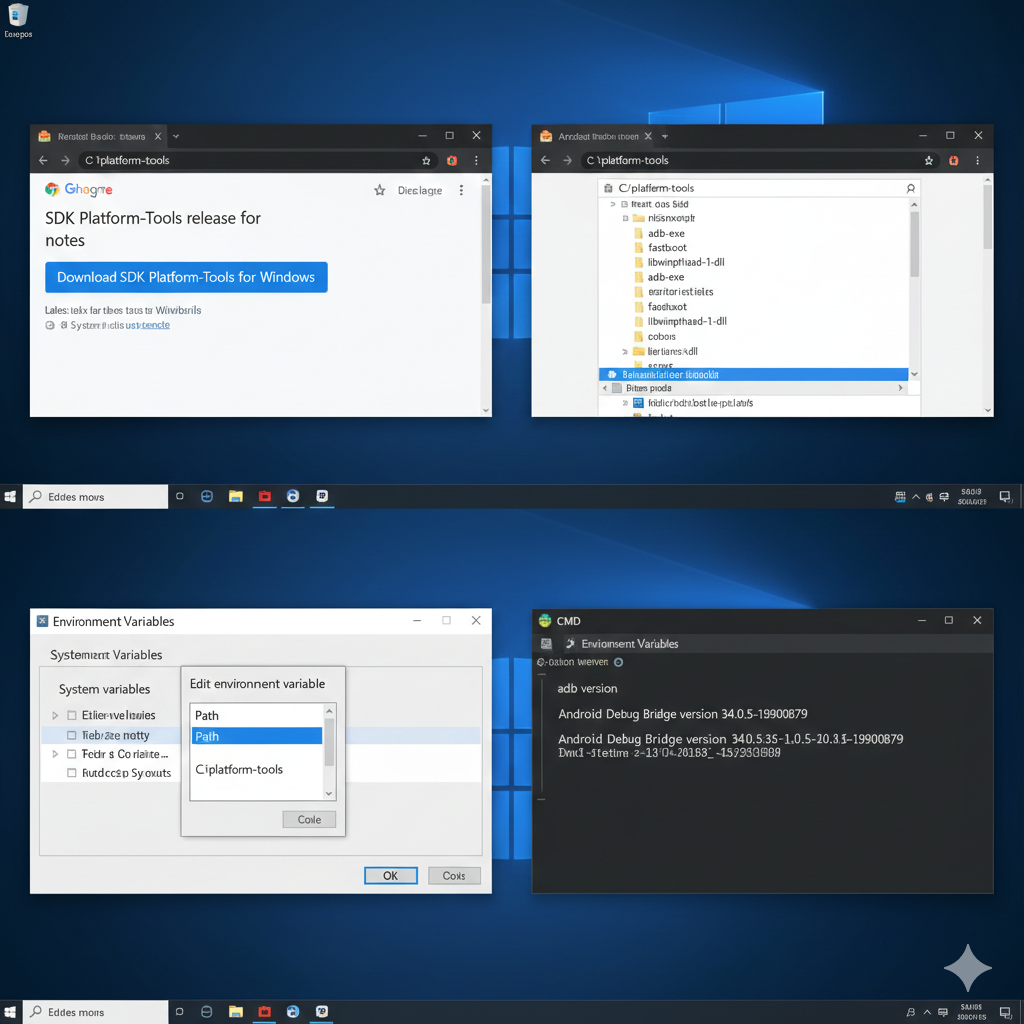
Step 2: SDK Platform-Tools (ADB) Setup
- Download the latest SDK Platform-Tools package containing the
adb.exefile. - Extract the ZIP folder to a permanent location, for example,
C:\platform-tools. - Add this folder path to the System Environment Variables so the
adbcommand can be accessed globally from Command Prompt (CMD) or PowerShell. - Verify the installation by typing
adb versionin the terminal.
Step 3: Connecting ADB to the Emulator
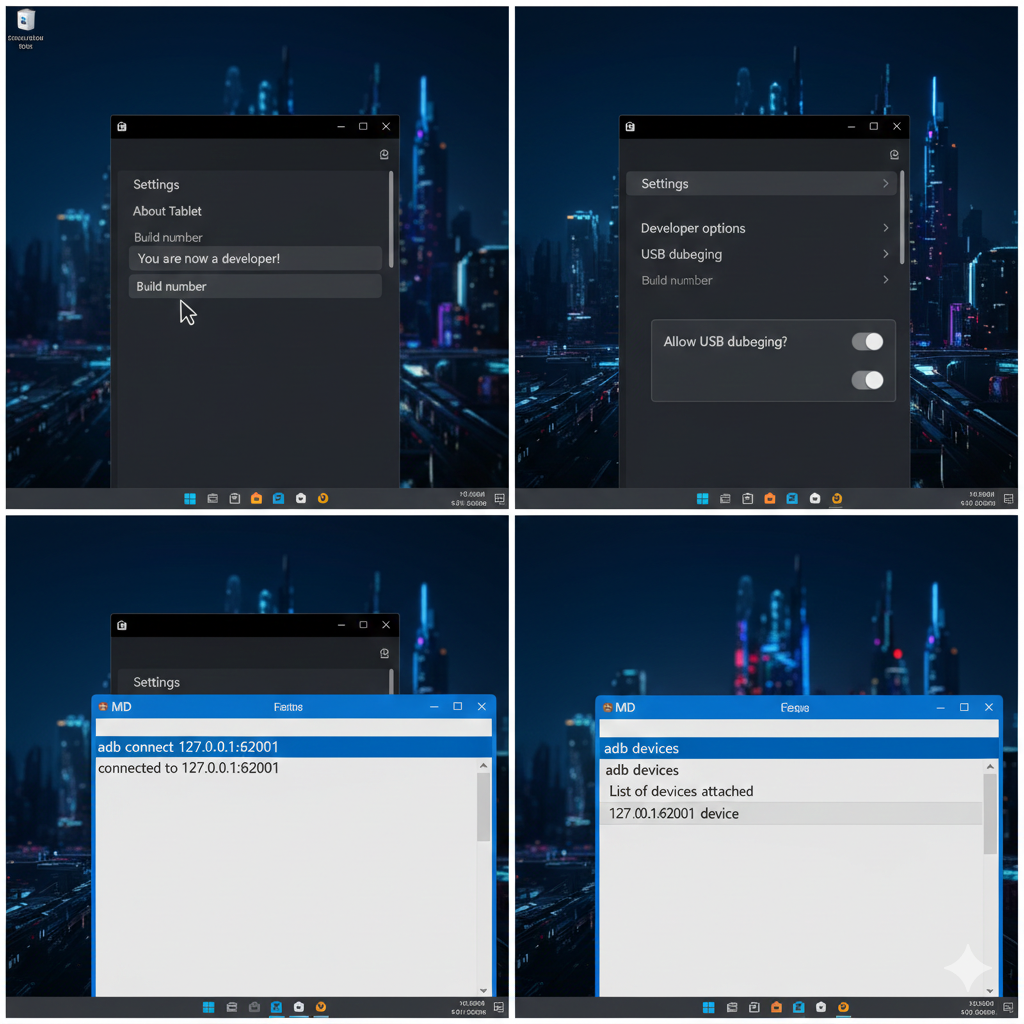
- Inside the emulator, open Settings > About Tablet and tap Build Number 7 times to activate Developer Options.
- Open Developer Options and enable the USB Debugging feature.
- Use the following commands in the terminal to connect ADB to the emulator:
- For Nox:
adb connect 127.0.0.1:62001 - For MEmu:
adb connect 127.0.0.1:21503 - Run the command
adb devicesto ensure the device status is listed asdevice.
Step 4: Exploration of Basic ADB Commands
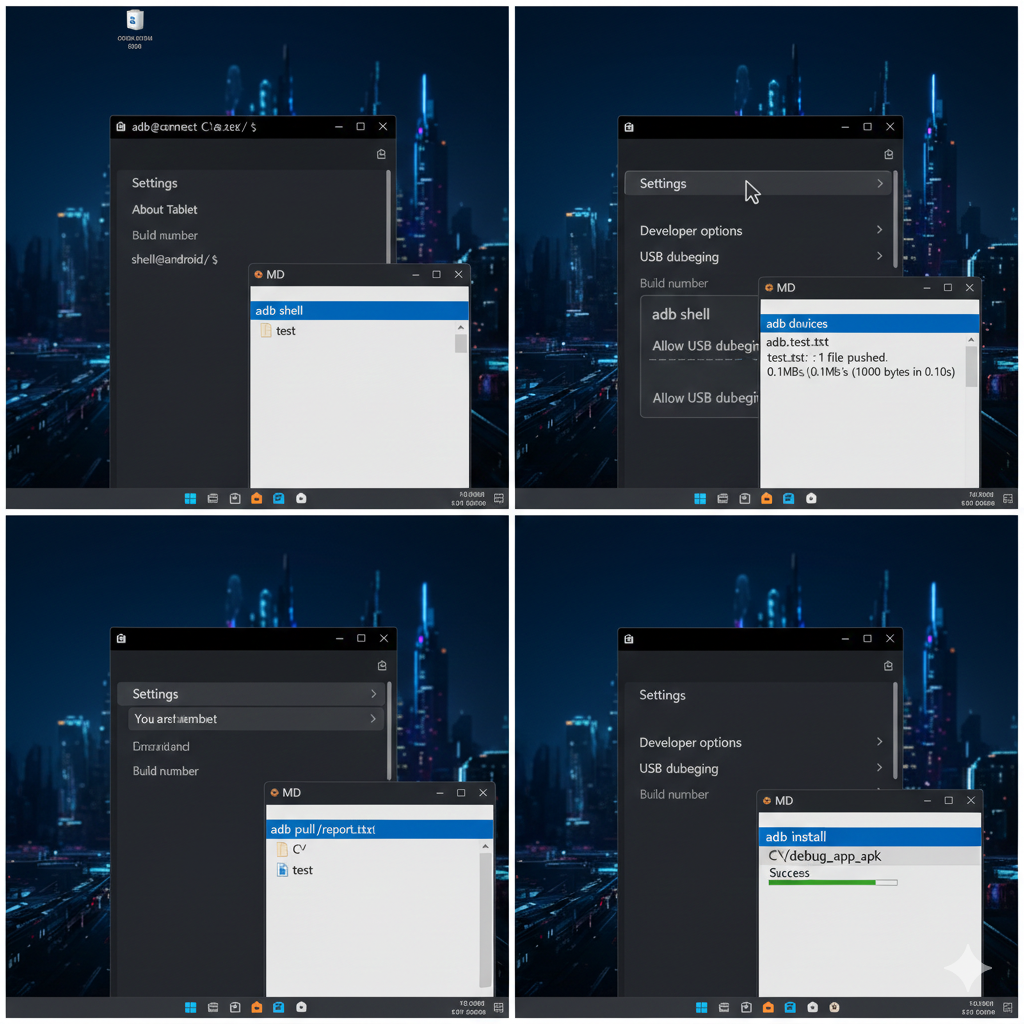
- Enter Shell: Use the
adb shellcommand to access the internal Android command line. - File Management: Practice sending files with
adb push [local_file] /sdcard/and retrieving files withadb pull /sdcard/[remote_file]. - App Installation: Use
adb install app_name.apkto install testing applications directly.
3. System Monitoring via Logcat
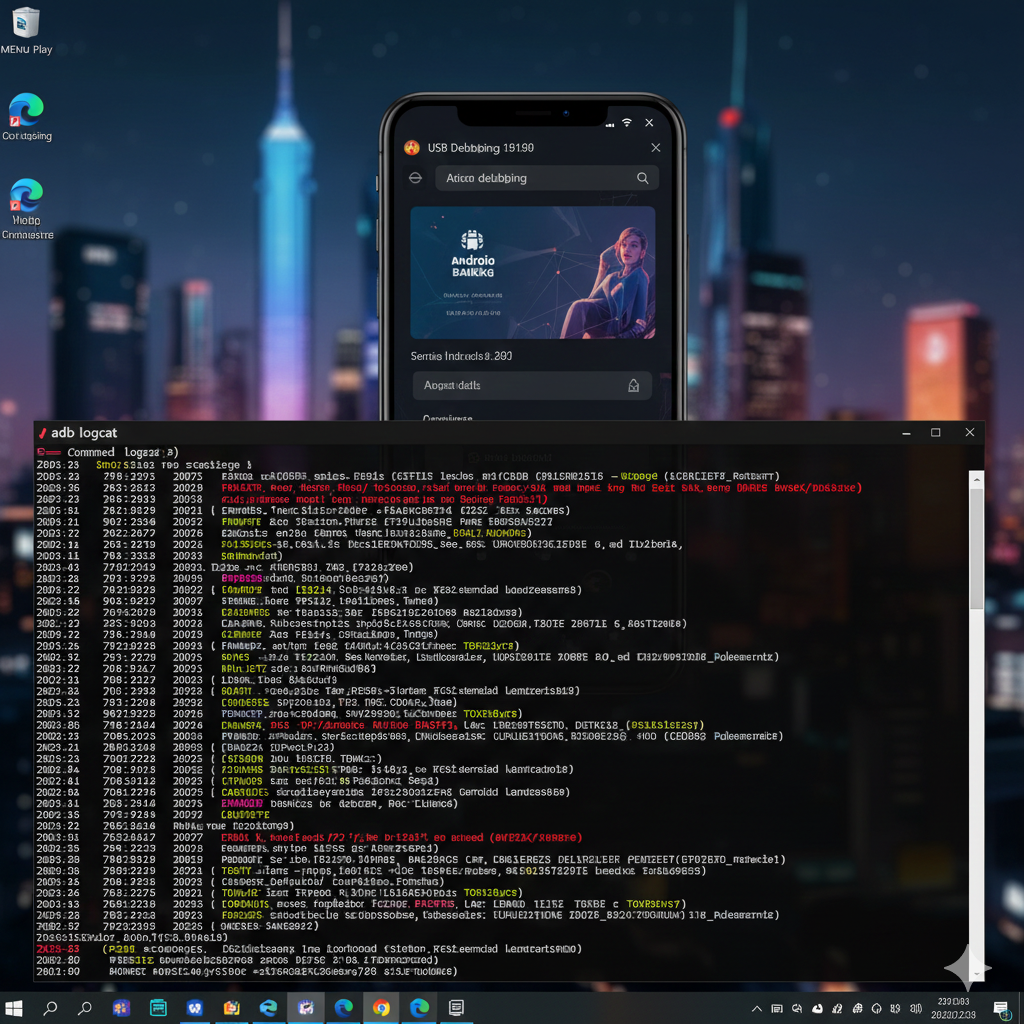
- Use the
adb logcatcommand to view system logs in real-time. - Logcat is very useful in Mobile Pentest to identify sensitive data leaks that might be printed by the application into the system logs.
Conclusion
By completing the steps above, the Android application testing environment is ready. The emulator serves as the attack target, while ADB functions as the primary control tool to analyze application behavior and the internal file system.
LINK DOCUMENT TUGAS: PUNJUNG_MODULE02
LINK MEDIUM: PUNJUNG_MODULE02
LINK POST LINKEDIN: PUNJUNG_MODULE02